- Author Maria Gibbs gibbs@autolifeadvice.com.
- Public 2023-12-16 03:05.
- Last modified 2025-01-22 17:48.
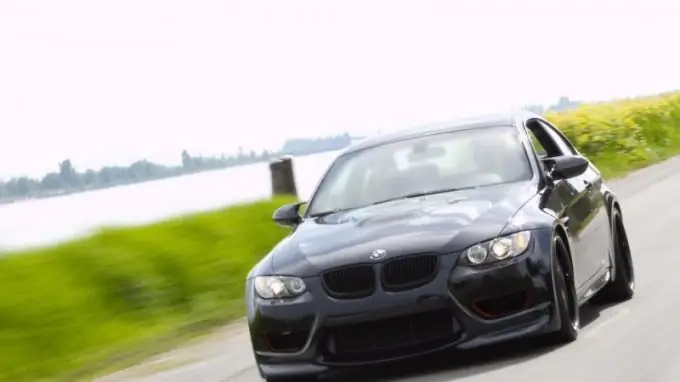
Selling a car over the Internet has become commonplace. In this case, not only a competent description of the technical characteristics of the car, but also high-quality photographs of it can be very important. A well-done survey will not only speed up the sale, but it is also quite capable of affecting the price for the better.

Instructions
Step 1
Before starting a photo shoot with a car, you need to wash it well from all kinds of dirt, add gloss, and bring beauty. In this case, you should not rely on a regular car wash, it will remove only surface dirt. In order for the car to shine in the literal sense of the word, you will have to stock up on special means - liquid for washing windows and mirrors, car polish, soft rags and so on. Do not forget about the insides of the car. Vacuum the interior and wipe down the plastic parts with a special glossy liquid.
Step 2
An equally important step is the choice of the location for photographing. A calm background is needed so that nothing distracts the viewer's attention from contemplating the main character of the photo. A garage, a yard full of other cars, parking lots with bright advertising banners are very bad for these purposes. Within the city limits, you should also make sure that there are no buildings nearby with large reflective surfaces that can create bright reflections on the photographed subject. The unobtrusive gray tone of the surrounding space will look best. Or you can get out into nature and take photographs in the field or, for example, against the background of the mountains.
Step 3
When all the preparations are made, you can start shooting directly. Photos will look more dynamic if the front wheels are turned slightly to the side. To begin with, you need to take a few general shots in front view, from the side, from behind, and necessarily the so-called ¼ and ¾ pictures. In this case, it is better to sit down slightly, this simple technique will help give the car in the photo a more solid look.
Step 4
In the cabin, you should remove the view from the driver's door, reinforcement board, rear seats. In this case, you can not be limited only to a general view, but take several macro shots, which will give the photo session an interesting touch. Show, for example, individual buttons on the steering wheel or the beautiful curve of the rearview mirror.
Step 5
After shooting, you will need to process the resulting photos in a graphics editor - slightly increase the contrast, equalize the brightness, remove unnecessary glare. At the same time, it is very important not to overdo it, the photographs should retain their natural look, and not turn into a futuristic illustration from a fantastic book.


