- Author Maria Gibbs [email protected].
- Public 2023-12-16 03:05.
- Last modified 2025-01-22 17:48.
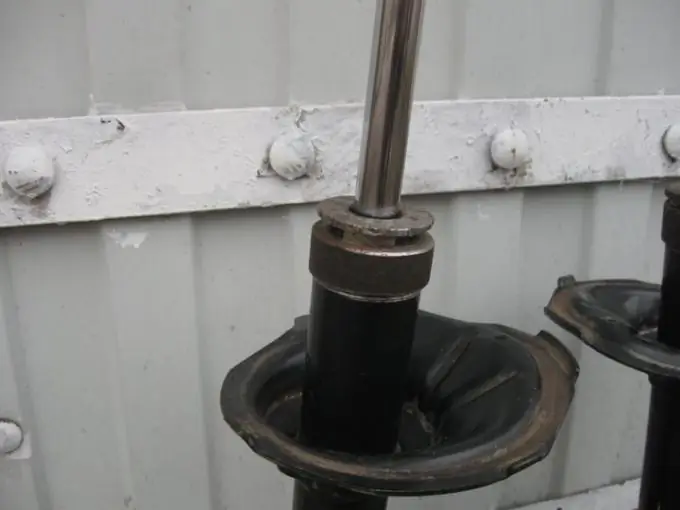
Collapsible shock absorbers are produced by some manufacturers such as Kayaba, Tokico and others. The big advantage of a collapsible rack is that the cost of repairing this unit is less than just replacing it.

Necessary
- - keys set;
- - liquid for automatic transmissions Dextron ATF;
- - repair kit for the shock absorber;
- - gas wrench.
Instructions
Step 1
Remove the stand from the machine. To do this, disconnect all hoses, wires and, if necessary, stabilizer links from it. Using the spring pullers, compress the spring and unscrew the nut holding the upper support cup, then remove it and remove the spring. Unclench it carefully by unscrewing the puller nuts. Then remove the baffle from the strut rod. Inspect all removed parts, some of them may need to be replaced.
Step 2
Using a metal saw, carefully saw off the rolled top of the rack. This part prevents the bronze insert from popping out. Therefore, cut carefully to avoid damaging the liner. At the same time, there is no need to be afraid of shallow cuts to a depth of no more than 1 mm in the insert body. Also, do not cut the shock absorber too high, where there is already a narrowing from rolling, because in this case, you cannot remove the earmold.
Step 3
Having cut off the top of the rack, pour the old working fluid from it into a prepared container, measure how much fluid was in the shock absorber, and then remove the working mechanism, wipe the parts from the working fluid with a cloth and inspect them. If the rack leaks during operation, then it is necessary to replace the stem oil seal.
Step 4
Order a turner to cut off the upper part of the rack, cut a thread there 20-25 mm high from the top and make a steel nut on it. Pay attention to him that he makes a hole in the nut for the stem 2 mm larger than its diameter, and the thickness of the upper wall is at least 4 mm.
Step 5
Flush the inside of the strut housing with gasoline to exclude the possibility of chips getting into the working fluid that formed during mechanical work. It will not hurt to wash the nut.
Step 6
Assemble the rack, fill it with new working fluid. To fill the rack, you can use Dextron ATF from any manufacturer. Pour in a little more liquid than there was. This will compensate for fluid loss through the packing. Replace the stem packing and reinstall the top bushing. Install the nut and tighten with a gas wrench. Pump the rack by moving the stem up and down. Make sure fluid does not leak out from under the threaded joint and the gland.


