- Author Maria Gibbs gibbs@autolifeadvice.com.
- Public 2023-12-16 03:05.
- Last modified 2025-01-22 17:47.
If, during the operation of the VAZ 2110 car, it became noticeable that it began to accelerate slowly, the engine lost some power, then the mass air flow sensor (MAF) may be out of order, or its resource is approaching this. To check it, it is enough to have a minimum set of tools.

It is necessary
- - curly screwdriver;
- - tester.
Instructions
Step 1
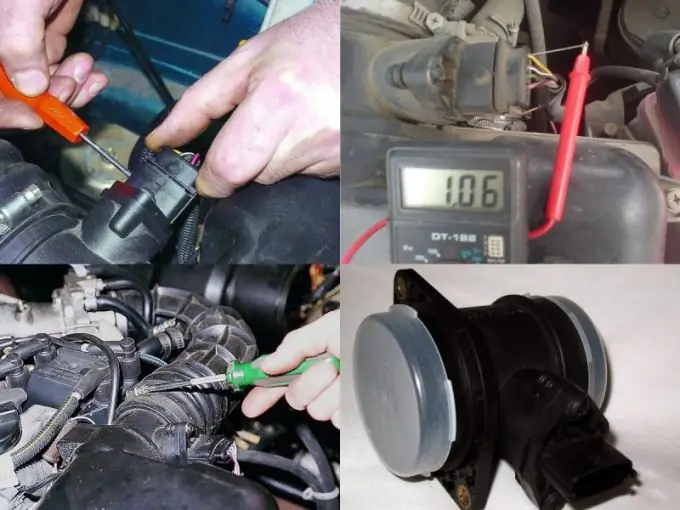
Disconnect the sensor connector. Start the engine. Bring the engine speed to 1500 rpm or more. Start moving. If you feel "agility" in the car, it means that the mass air flow sensor is faulty and needs to be replaced with a new one. This is the first check option. If the DMRV sensor is disabled, then the controller goes into emergency operation mode, so the mixture is prepared only according to the throttle valve.
Step 2
Turn on the tester in the DC voltage measurement mode, set the measurement limit to 2 V. The second option for checking the DMRV sensor. Measure the voltage between the yellow output wire (closest to the windshield) and the green ground (3rd from the same end) located in the sensor connector. Colors may vary depending on the year of production, but the layout remains the same. Switch on the ignition, but do not start the engine. With the tester probes, penetrate the rubber seals of the connector, along these wires, get to the contacts themselves without breaking the insulation. Connect the tester and take readings. These parameters can also be removed from the on-board computer display, if available. They are in the group of values "voltage from sensors" and are designated U dmrv.
Step 3
Evaluate the results. At the output of a working sensor, the voltage should be 0.996-1.01 V. During operation, it gradually changes upward. This parameter can be used to determine the degree of "wear" of the sensor. For example: 1.01-1.02 V - a working sensor, 1.02-1.03 V - a working sensor, but already "hooked", 1.03-1.04 V - it will need to be replaced soon, 1.04-1.05 V - it's time to change, 1.05 V and higher - operation is impossible, mandatory replacement.
Step 4
Examine the sensor when the reading is abnormal. Take a curly screwdriver and unscrew the clamp of the rubber corrugation of the air inlet, which is located at its outlet. Remove the corrugation, and carefully inspect its inner surfaces and the sensor. They must be free of condensation and oil. This is the most common cause of damage to a mass air flow sensor. If they are present, then the oil level in the crankcase is exceeded and the oil separator of the crankcase ventilation is clogged. Before replacing the sensor with a new one. Eliminate the malfunction.


