- Author Maria Gibbs gibbs@autolifeadvice.com.
- Public 2023-12-16 03:05.
- Last modified 2025-01-22 17:48.
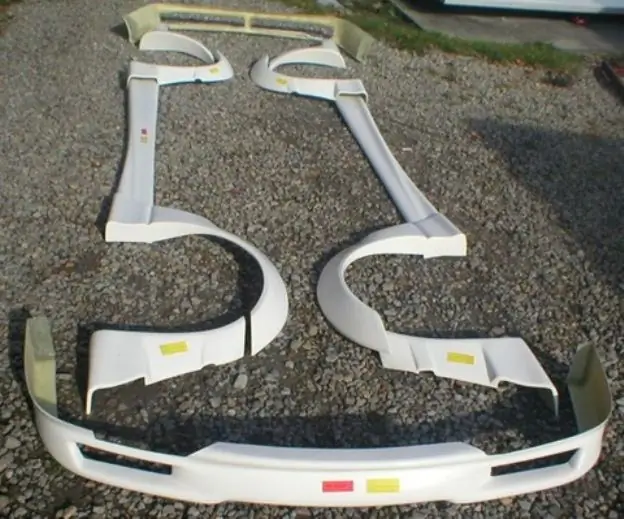
The aerodynamic body kit is designed to improve the appearance, streamline and downforce. Homemade body kits have an exclusive look and help personalize the car. Even outdated car models look completely different if the aerodynamic body kit installed on them is in harmony with the appearance of the car.

Instructions
Step 1
The most popular aerodynamic body kit parts are bumpers, spoilers with a wing, wheel arch liners and sills. Bumpers are the most cumbersome, time consuming and complex parts. Having completed the manufacture of the aerodynamic bumper on our own, all other parts of the body kit can be made using the same technology.
Step 2
Glue the layout of the future bumper from the foam sheets. Consider all the aerodynamic functions of the future part, namely, the direction of air flows to the radiator and to the front brakes. This will require both thick and thin sheets of foam. Cut the styrofoam with a hacksaw or a heavy-duty soldering iron with a thin metal shaped tip. Glue the sheets with PVA glue.
Step 3
Using the removed old bumper, determine the attachment points for the new one. Cut new mounting brackets from a 2 mm sheet of metal, drill holes in them, prime and paint.
Step 4
Cut out the foam blank and attach it to the car. Refine the design if desired. Check the attachment points of the future bumper. Remove excess. Cut openings for air supply to the front brakes, niches for installing additional and fog lamps.
Step 5
Cut the fiberglass into strips 5-7 cm wide and 40-50 cm long. Place each piece on plexiglass or linoleum and apply epoxy to it. After absorbing, stick to the bumper foam mold. Glue the fiberglass in several thin layers. At the joints, stick one strip on the other by 1-1, 5 cm. After completing the inner layer, 2-3 mm thick, lay a metal mesh to strengthen the structure. Reinforce the bumper attachment points especially carefully.
Step 6
Degreased bumper brackets are welded to the reinforcement wire. Then, on top of the wire, an outer layer of fiberglass is applied, 6 mm thick in three layers. Perform these layers especially carefully, without bubbles or other blemishes. The glass fabric, carefully impregnated with epoxy resin, will hold the brackets well. Add paint to the last coat of epoxy to mask the scratches.
Step 7
After the resin is completely dry and cured, sand the bumper. Perform this operation carefully. If necessary, glue the required areas with an additional layer of fiberglass. Then carry out the final sanding with fine-grained emery paper.
Step 8
Do not use priming before painting. Paint with a spray gun or aerosol cans. Dry the painted part using an infrared lamp (heater).


