- Author Maria Gibbs gibbs@autolifeadvice.com.
- Public 2023-12-16 03:05.
- Last modified 2025-01-22 17:48.
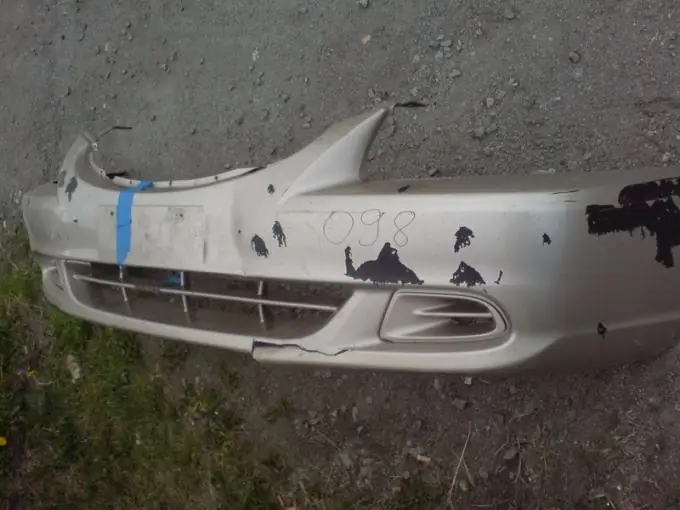
Quite often, motorists repair bumpers on their own. The bumper can be cracked or crumpled if it is hit by fine gravel or stones. All work can be done in a regular garage.

Instructions
Step 1
First, unscrew the bumper and stow it comfortably. It is necessary to do the first thing to dock the "fragments". A clamp is best suited for this purpose. Naturally, the fragments are very different. Sometimes one clamp is enough, and sometimes two or three are needed.
Step 2
Using a regular 60 watt soldering iron, solder the seam from the inside. Next, you need an armature. You can also use staples. Solder them 3 millimeters apart, and then weld the seam. After that, you can proceed to repair the outer side. At the place where the seam is, remove the paint and varnish with an "orbital". Use circle P240. Next, you need to solder outside.
Step 3
Proceed to stripping the soldered and cooled seam. This can be done with a circle of the same grain size. After stripping, be sure to blow out the joint with compressed air. Next, you need a hairdryer. Use it to melt the fluff formed on the plastic.
Step 4
So, the bumper already has a holistic look. It is necessary to stock up on plastic putty in advance. Stir and apply to the joint with a rubber trowel. Be careful, the surface of the bumpers is quite embossed. In hard-to-reach places, the putty can be applied with your finger. Allow the application site to dry. Next, you need to grind the putty using the P120 wheel. Under the ground, you need to change the circle to P240.
Step 5
The primer should be applied in a 3 to 1 ratio. Apply the primer in 2 coats. Dry for 15 minutes between applications. After that, the developing layer can be applied. A dark base is best for developing. Next, you need to dry the treatment site well for 30 minutes.
Step 6
Now you can degrease the bumper and wipe it with a sticky dust cloth. Then you can paint and varnish the bumper.


