- Author Maria Gibbs [email protected].
- Public 2023-12-16 03:05.
- Last modified 2025-01-22 17:47.
Every car enthusiast wants to have a working car so that he can not worry when driving. An important role in this is played by the correct access to the engine fuel and the removal of exhaust gases. "Sneezing" or "shots" into the muffler - all this can occur from the incorrect setting of the valve clearance of the gas distribution mechanism. Repair in this case will not be difficult, the main thing is to correctly set the TDC (top dead center) and observe the order when adjusting.

It is necessary
- - probe 0, 3 … 0, 35;
- - screwdriver;
- - a set of keys.
Instructions
Step 1
Examine the distributor cover, find the wire that goes to the spark plug of the first cylinder (closest to the radiator). Remove the distributor cover and note the place where the slider should be located so that the spark goes to the spark plug of 1 cylinder. Look at the distributor from above - the position should be "at 10 o'clock". Remove the valve cover, disconnect all attachments from it.
Step 2
Inspect the crankshaft pulley. It should have 2 or 3 risks. Align the third (second), i.e. the last on the right in the direction of rotation is at risk with a guide on the cylinder block (the pulley rotates clockwise). Insert the "curve starter" and align the indicated line with the guide. If it is not possible to use it, then turn the shaft by hand - using the pulleys and belts, insert a screwdriver into the castle nut and turn it using a suitable open-end wrench.
Step 3
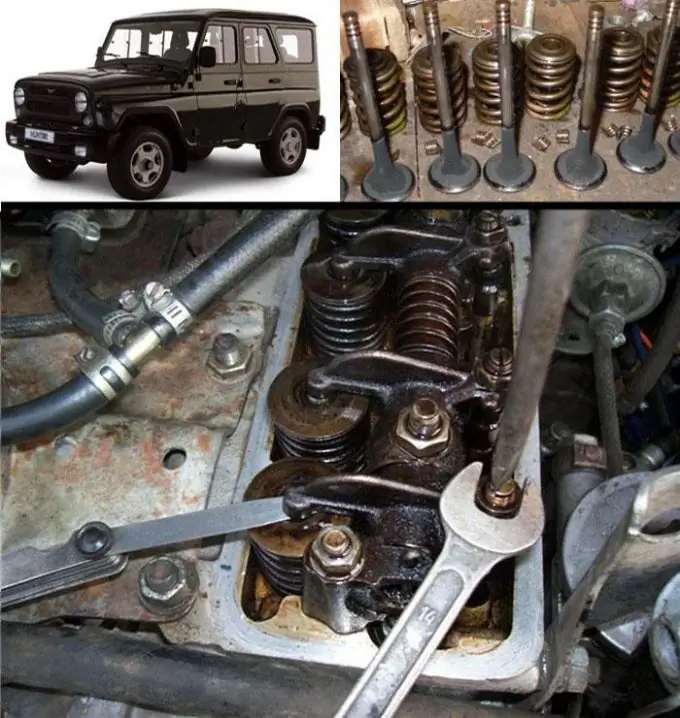
Look at the distributor slider after aligning the marks. When it is located in the right place (point 1), then the piston of the 1st cylinder is at TDC. The valves are closed at this moment, so they can be adjusted. Press down on the rocker, a gap will be felt. Otherwise, adjust the valves of the 4th cylinder.
Step 4
Set a gap of 0.35 mm on the adjusting feeler gauge. Please note that the probe should enter with a slight, but perceptible force. Insert it into the gap between the valve and the rocker arm. Loosen the lock nut, turn the adjusting bolt left or right, depending on the need to increase or decrease the clearance. Set a clearance of 0.35 on all valves of all cylinders. If the air temperature is from -5 to 0 degrees, then make it 0.4 mm.
Step 5
Turn the crankshaft 180 degrees after adjusting the clearance on the 1st cylinder and do the same with the second. Determine the turn either by the thumb wheel or by the notch on the pulley. Then turn it another 180 degrees and adjust the 4th cylinder, then 180 degrees again and the 3rd. The order of operation of the cylinders of engines 417 and 421 is as follows: 1-2-4-3. Put on the valve cover, attach the attachment to it.


