- Author Maria Gibbs [email protected].
- Public 2023-12-16 03:05.
- Last modified 2025-01-22 17:47.
Valve adjustment on four-stroke scooters is carried out after the first 500 km of run and then according to the manufacturer's recommendations. It is also required to solve problems with starting the engine, with a set of revolutions, with a ringing noise and with a constantly stalling engine.

It is necessary
- 1. Pliers.
- 2. Phillips screwdriver.
- 3. Keys.
- 4. Probe for adjusting valves (0.05 and 0.1 mm)
Instructions
Step 1
Prepare containers for storing small parts and fasteners to prevent loss. To remove the seat, take a 10 socket wrench and a screwdriver. Unscrew the 4 nuts in the trunk: two on the side of the seat lock and two on the bottom. Unscrew the 2 screws under the foot mat. Carefully remove the luggage compartment seat to expose the engine.
Step 2
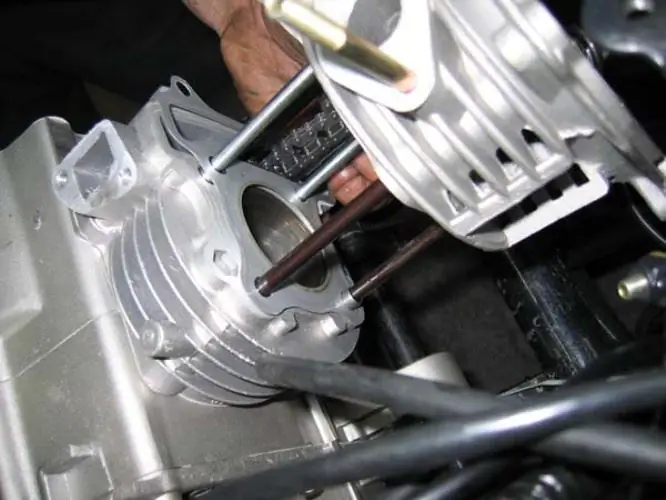
Remove the plastic lining of the generator fan by unscrewing 2 nuts with an 8 spanner. Remove the cylinder head cover by unscrewing 4 bolts and 2 nuts securing the fuel supply pipe. Locate the intake and exhaust valves.
Step 3
Locate 3 holes on the camshaft sprocket and position them so that the piston is at top dead center. In this case, the large hole should be located in the visible part of the head, and two small holes parallel to the plane of the cylinder head cover attachment.
Step 4
On the alternator flywheel, find the mark T for top dead center. Install it opposite the protrusion marked 1. To do this, rotate the generator fan clockwise with a socket wrench until the desired position is reached. In the position of the piston at top dead center, the rocker arms of the valves stop moving when the fan rotates.
Step 5
To check the clearance, insert a 0.05 mm feeler gauge between the inlet valve and adjusting bolt. If the gap is too small (the dipstick will not insert) or too large, loosen the nut on the adjusting bolt. Turn the adjusting bolt (using a wrench or pliers) clockwise to decrease the gap, counterclockwise to increase it.
Step 6
To check the clearance, hold the feeler gauge between the valve and the adjusting bolt. Ensure that the dipstick is snug so that you can move the dipstick without scratching it. Hold the adjusting bolt with pliers or a wrench and tighten the locknut. Then check the clearance.
Step 7
Adjust the release valve in the same way. Use a 0.1 mm dipstick. Please note: access to the valve is difficult.
Step 8
Assemble all the pieces in reverse order. Make sure nothing is forgotten. Tighten all fasteners carefully. Be careful when handling plastic parts, especially in cold weather.


