- Author Maria Gibbs [email protected].
- Public 2023-12-16 03:05.
- Last modified 2025-01-22 17:48.
To carry out a high-quality repair, it is necessary to know not only the principle of operation of the generator, but also its design. A car generator is no different from a DC motor. And its design is similar.

The basis of a modern car is not even a fuel system, but electrical equipment. Reliability and convenience of the driver and passengers depend on its quality. Any car uses two power sources - a battery and a generator. The first is necessary to power the on-board network when the engine is stopped, as well as to start it.
And the generator is needed to provide power to the network while the engine is running, as well as to recharge the battery to the desired level. And if the battery does not have moving elements, it consists of lead plates immersed in an acid solution, then the generator is a unit that consists of a movable and a fixed part.
The generator armature is driven from the engine crankshaft. The belt drive is most often used, since it is reliable and its adjustment is very simple. To make a repair, you need to know what parts the generator consists of. Understanding how it works doesn't hurt either.
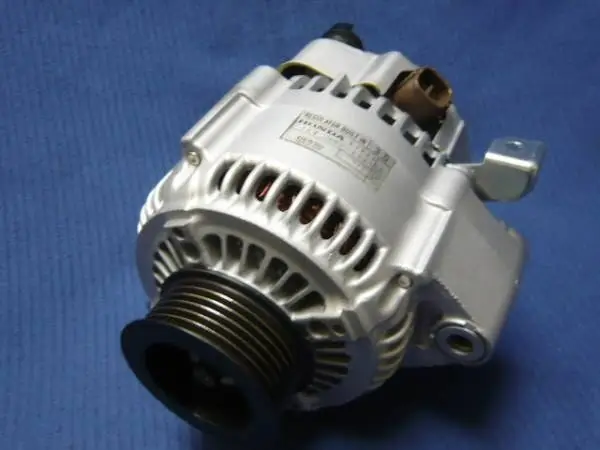
Automotive generator design
Two parts - movable (rotor) and stationary (stator). Both contain windings - excitation (on the rotor) and generating (on the stator). There is one winding on the moving part, it has two leads that are connected to cylindrical contacts. The fixed part is more complex, it has three windings connected in a star. The beginnings of the windings have a common point - the mass, and the voltage is removed from the ends.
If voltage is generated at three terminals, then three phases are generated? Indeed, a car generator produces a three-phase alternating voltage. But is direct current used in the on-board network? That's right, then one important element is included in the work - the rectifier unit. It consists of six high-current semiconductor diodes connected in a three-phase rectifier circuit. From three phases of alternating current, we obtain direct current.
But there are still difficulties. These include noise and power surges. The first ones leave safely if a capacitor with a large capacity is connected to the output of the rectifier unit. It smooths out ripples and removes various interference from the on-board network. And the armature turns are not constant, therefore the output voltage can vary in the range of 12..30 Volts.
Therefore, stabilization is needed. For this, a relay-regulator is used in the design, which maintains the operating voltage in the on-board network (13, 8-14, 8 Volts). Most often, the relay-regulator is combined with a brush assembly, with the help of which the excitation winding is powered. If we stabilize the voltage supplied to the excitation winding, then we get the voltage stabilization at the generator output.
Dismantling the generator and replacing bearings
How to change the bearing on the generator correctly? After all, the anchor is constantly in motion when the engine is running. There are bearings in the front and rear covers. To change them, you need to completely remove the generator from the car and disassemble it. Sequencing:
• unscrew the nut that secures the generator to the bracket;
• loosen the belt and remove it;
• remove the lower bolt by unscrewing the nut from it;
• remove the generator.
And then you need to remove the pulley, and then disconnect the front and rear covers. Most often, the bearing, which is located on the front cover, is destroyed, since it is on it that most of the loads fall. This bearing has several times less resource than the one on the back cover.
On the front cover, the bearing is covered with a plate, which is attached to the housing with two bolts. Using a piece of tube (or a similar old bearing), we press out the bearings from the covers. We take new ones and install them instead of the old ones. If necessary, you can use the old bearing for pressing. This completes the replacement, the assembly of the generator begins.


