- Author Maria Gibbs gibbs@autolifeadvice.com.
- Public 2023-12-16 03:05.
- Last modified 2025-01-22 17:47.
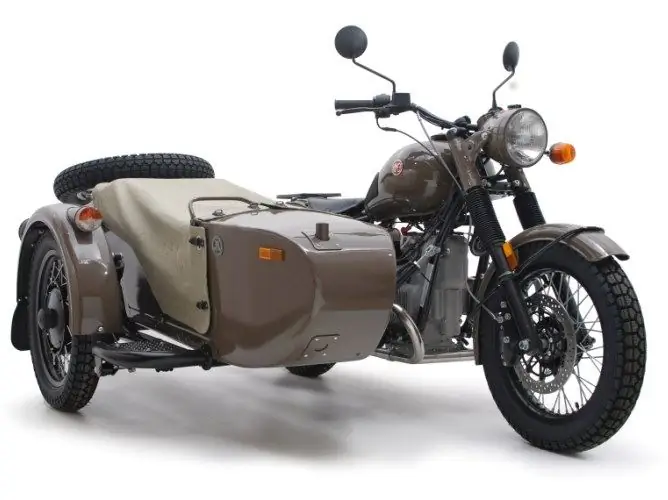
Correctly aligned ignition on your motorcycle will help you operate it efficiently. Smart tuning increases engine power and driving speed and saves fuel. Most new Ural motorcycles are equipped with modern contactless ignition. Older models can also be converted to this type of ignition, which facilitates the adjustment process.

It is necessary
- - screwdriver;
- - spanners;
- - control lamp;
- - newspaper sheet.
Instructions
Step 1
Set the crankshaft to top dead center on the compression stroke of the first cylinder. Focus on the long mark on the crankshaft. Make sure the rotor contact is against the inner contact of the cover. This contact must be wired to the spark plugs of the first cylinder.
Step 2
If the switchgear was installed on the engine after its repair, remove the spark plug of the first cylinder. Close the hole with a paper stopper. Start rotating the crankshaft until air pushes the plug out of the hole. This moment indicates the beginning of the compression stroke in the corresponding cylinder.
Step 3
Loosen the fastening of the microprocessor unit so that it can rotate. Turn the block counterclockwise until it stops.
Step 4
Look for a special mark on the flywheel and align it with the center mark of the motorcycle engine. One mark is usually indicated by the letter "B" (top dead center) and the other by the letter "P" (early ignition).
Step 5
Make sure that power is supplied to the ignition system and to the microprocessor unit, which can be checked by the LED light.
Step 6
Turn the unit slowly and determine the moment when the control lamp goes out. Now tighten the mounting bolts securely.
Step 7
At the end of the adjustment, check the onset of the ignition moment by experiment. To do this, use a control lamp by closing the contacts. When the ignition is correctly set, the light will light up and go out when the crankshaft is turned.
Step 8
When setting the ignition, which has a contact circuit, first check and adjust the gap between the breaker contacts (it should be approximately 0.5 mm). Connect a test lamp to the low voltage terminal of the coil; attach the second wire from the lamp to the ground.
Step 9
Now turn the crankshaft until the markings on the flywheel and the crankcase match up. Rotate the breaker body after loosening the fixing screws. When the test lamp flashes, securely fix the breaker body. Disconnect the test lamp.


