- Author Maria Gibbs [email protected].
- Public 2023-12-16 03:05.
- Last modified 2025-01-22 17:47.
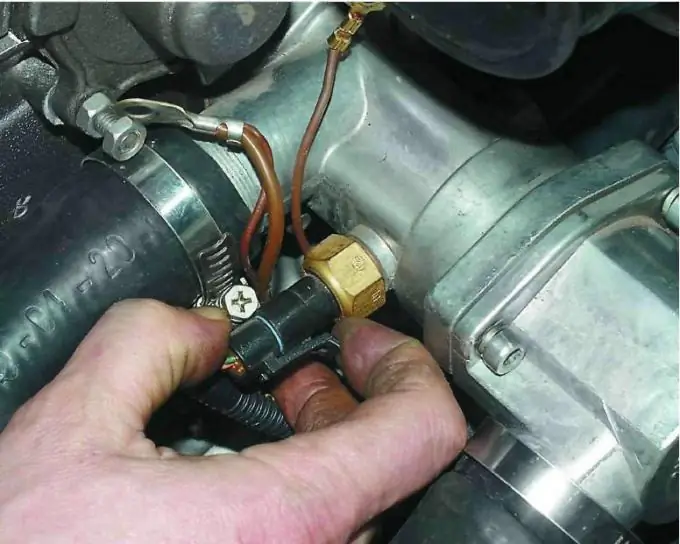
Quite often, car enthusiasts are faced with the problem of car overheating. This happens mainly due to a malfunction of the coolant temperature sensor or due to the controller. This article describes possible problems and their rational solution.

Instructions
Step 1
The controller's task is to calculate the coolant temperature. It is produced by the voltage drop across the sensor. Most of the processes that are controlled by the controller directly depend on how correct the readings of the coolant temperature sensor are.
Step 2
Quite often, problems arise due to damage to the wires that go to the sensor. There are times when a wire break occurs at the very connector of the sensor. Such problems lead to the fact that the fan turns on at a low temperature. Black smoke comes out of the exhaust pipe. If such a malfunction occurs, the control lamp "CHECK ENGINE" on the instrument panel may not light up. In this case, it is better not to turn off the engine, since then it may not start. You can still move at low speed.
Step 3
Problems can arise if the coolant temperature sensor is not working. To test this sensor, you need to follow simple steps. First, we disconnect the harness block from the sensor. We turn on the ignition. We are checking the circuit. When measuring the voltage, the contact "B" relative to the "ground" should be about 5 V. If the voltage is less than 4.7 V, then the connection must be considered unreliable. It is quite possible that the wire is shorted to ground or broken. You also need to check the serviceability of the controller in this case.
Step 4
We turn off the ignition and measure the resistance between the contact of the sensor block "A" and "ground". The resistance must be at least 1 ohm and no more. If the resistance is more than 1 ohm, then a wire break is quite possible.
Step 5
After that, you need to disconnect the controller block and check the resistance, which will be between the contact of the sensor block "B" and the contact of the controller block "45". It should be less than 1 ohm. If it is larger, then the connection in the pads is unreliable.
Step 6
Next, we measure the resistance between the "mass" and the contact "B" of the sensor block. It must be at least 1 ohm. If less, then a short to ground occurs.
Step 7
We are checking the sensor. We measure the resistance at two temperatures of the cooling liquid. This should be done on a cold and hot engine. The resistance shouldn't be different. If there are differences, the sensor must be replaced. If the sensor and the circuit are in good condition, then we replace the controller.


