- Author Maria Gibbs [email protected].
- Public 2023-12-16 03:05.
- Last modified 2025-01-22 17:47.
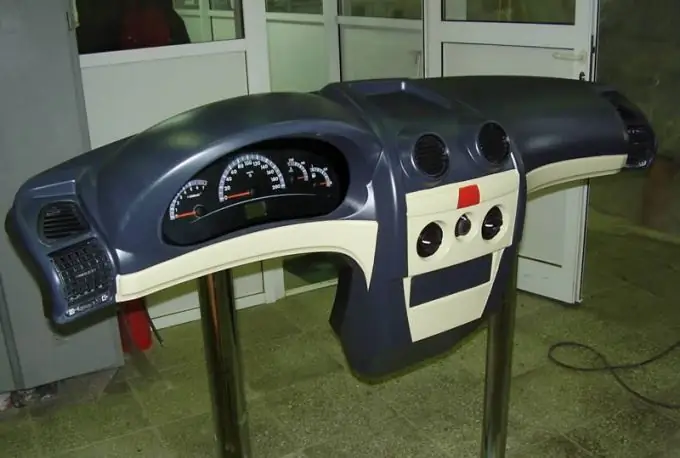
Sometimes the owners of the Kalina car are engaged in disassembling the panel. This must be done if any damage occurs to the mechanisms under the panel. They also remove the panel during soundproofing of the car.

Instructions
Step 1
First, remove the three screws that secure the windscreen deflector. Take it off. The left nozzle of the ventilation and heating system is fastened with two screws. Turn them out. Remove the right nozzle in the same way. Using a screwdriver, pry and remove the heated rear window switch from the console trim.
Step 2
Then you need to remove the ashtray. After removing it, you can proceed to removing the pins of the storage compartment cover from the holes of the console lining. The console trim is held in place by four screws. Turn them out. Pry them with a screwdriver and remove the container from the dashboard. If a radio tape recorder is installed, then it must be removed.
Step 3
The harness pads must be disconnected from the audio system. Remove the two screws that secure the console trim. They are located on the sides of the window for the radio. Next, you need to remove the console cover. Be careful, there may be resistance from the spring clips at the top of it. The alarm switch must be squeezed out from the back and removed. Press down on the latch on the harness shoe. Disconnect the connector from the switch.
Step 4
After that, you need to disconnect the wiring harness block from the heater electric motor switch, as well as from the heater control unit. Squeeze the latch and then remove the watch from the console overlay.
Step 5
Next, you need to unscrew the four screws that secure the heater control unit to the console trim. Remove the block. The central nozzles of the ventilation system are fixed to the cover with two screws. They need to be turned out. The nozzle rests on clips that are located at the bottom and top. Squeeze them out and remove the nozzle.
Step 6
Next, you need to remove the screw that secures the fuse and relay box. Remove the block. The wiring harness goes to the glove compartment light switch. Disconnect the connector of this harness. Then remove the screw that secures the switch. Take it off. Use a screwdriver to pry the cover with the screwdriver. Remove it from the dashboard. You need to assemble the instrument panel in the reverse order to disassembly.


