- Author Maria Gibbs gibbs@autolifeadvice.com.
- Public 2023-12-16 03:05.
- Last modified 2025-01-22 17:47.
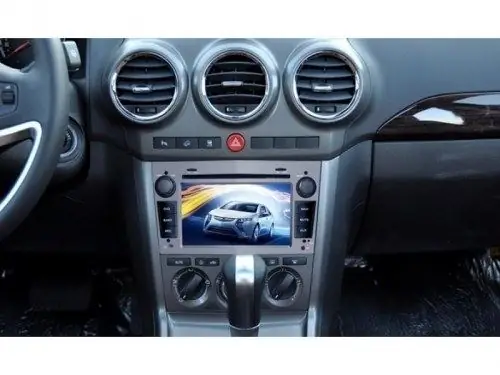
The stock audio system of most cars does not meet the requirements of avid music lovers. Therefore, there is a desire to install a new car radio. But to do this, you must first remove the standard head unit. This procedure is difficult for many car owners.

It is necessary
- - a special set for removing the radio;
- - cotton gloves;
- - manual;
- - building hair dryer;
- - new cladding
Instructions
Step 1
Open the hood and remove the negative terminal from the battery to de-energize the on-board power system. This is a precautionary measure, as you can inadvertently short-circuit the wires when removing the radio. Read your vehicle manual carefully. It may indicate a description of the process of dismantling the radio. If you do not have a printed version of the manual, you can download it electronically. You can also get basic knowledge about the device of your car's audio system by studying a special forum dedicated to your model.
Step 2
Remove the cladding parts. They are usually plastic covers that cover the screw seats and give the dashboard a more aesthetic appearance. The cladding is attached using plastic clips or pins. To remove it, you need to gently pry on one of the sides to disengage the mounts. Be very careful. If you bought a used car, then the previous owner may have glued the cladding. This is done in cases where the latches are broken. If you find that your cladding is glued, then you need to gently heat it with a hot air gun to melt the glue. Then carefully peel off the plastic and clean the space under it as much as possible. You need to buy a new cladding.
Step 3
Take the special tool for dismantling the radio. Now they sell both universal sets and adapted for a particular model. Unscrew all screws holding the mounting frame. You also need to unscrew the adapter screws if you have a single-din radio. Insert the special tool from the kit into the holes and press it down as much as possible. The radio should come out of the inner socket. Sometimes it is necessary to dismantle the glove compartment in order to gain access to the back of the socket into which the radio is inserted. This allows the radio to be pushed out from the back. Pull out the case carefully. Disconnect all connectors from the radio. At the same time, try not to drop the wires into the hole, as it is very problematic to get them out of there.
Step 4
Contact your nearest auto repair shop if you do not have the necessary skills to remove the radio. It is also worth contacting professionals if at any stage you realize that you cannot complete the procedure on your own. We will be happy to help you remove your old audio system and install a new one, as well as provide a guarantee for the work performed.


