- Author Maria Gibbs [email protected].
- Public 2023-12-16 03:05.
- Last modified 2025-01-22 17:48.
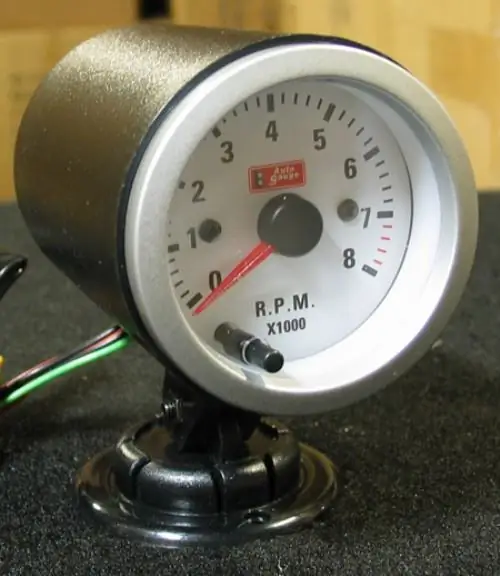
When installing or replacing the tachometer, the main difficulty is finding a wire that fits the instrument. To do this, you need to "ring" the wires.

Instructions
Step 1
Prepare a multimeter that is designed to measure AC voltage. When the tachometer wire is connected, the device will show a value from 1 to 6 volts. Try to find the wire yourself first, usually it is connected directly to the ignition coil or breaker-distributor, it can also be connected to an automatic transmission or to the engine computer.
Step 2
Remember that it is unacceptable to determine which wire belongs to the tachometer using a logic probe or a light bulb, which is an indicator. This can lead to the appearance of serious malfunctions in the wiring harness, because their closure is fraught with the replacement of fuses and relays, and possibly entire blocks. These damages are time consuming and costly to replace.
Step 3
After that, set the AC voltage measurement mode on the multimeter and set the value to 12 or 20 Volts. After that, be sure to connect one of the probes to the ground that is located on the chassis. Take the ignition key and insert it into the lock. Turn the key and turn on the ignition, thereby starting the engine in operation.
Step 4
Connect the red test lead of the device to the wire that you think is the desired one. Look at the multimeter screen. If it shows a voltage value of 1 to 6 Volts, then your search was crowned with success. If the result is negative, then try measuring the voltage on other wires until you find the correct one.
Step 5
After receiving a positive result, try to mark the required wire in order to further facilitate your work, because in the case of any procedures with a tachometer, you will need this wire again. After that, carry out all the necessary actions and carefully remove the wires and the multimeter.


