- Author Maria Gibbs gibbs@autolifeadvice.com.
- Public 2023-12-16 03:05.
- Last modified 2025-01-22 17:48.
Soldering is one of the most reliable and durable methods for eliminating radiator leaks. The only contraindication for this method is an aluminum radiator. It cannot be soldered. One of the positive aspects of the method is its availability for execution even by an inexperienced car enthusiast. The soldering process itself can be repeated many times until the desired result is achieved.

Necessary
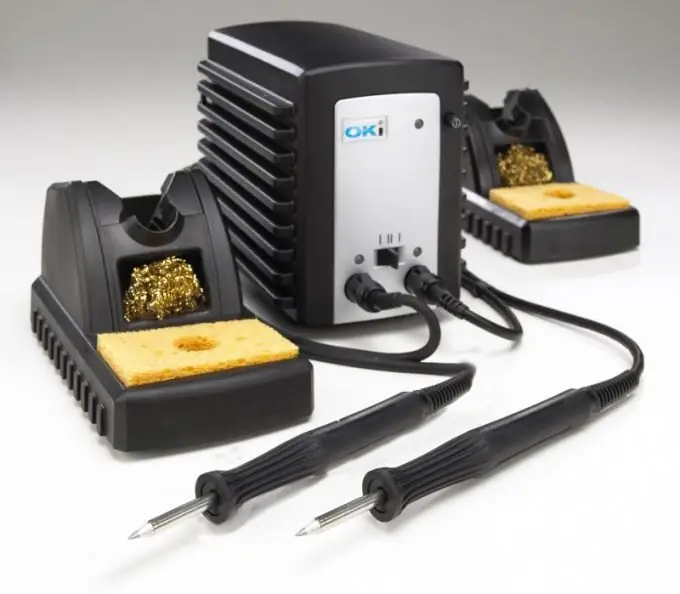
- - a soldering iron with a power of at least 100 W;
- - rosin, flux, solder.
Instructions
Step 1
Remember a few rules for soldering a radiator. First, when working, heat as much metal as possible around the leak. Second, when soldering very heavily loaded parts, cover them with a thick layer of solder. Watch the tip of the soldering iron while soldering and promptly remove the scale from it with a special file. Before soldering the surface, apply a special oxide remover to the tip. Cover the tip of the soldering iron with a large layer of solder.
Step 2
Be sure to remove the coolant from the radiator and prepare the work surface for soldering. To do this, thoroughly clean the soldering surface. Strip the edge of the through hole, covering an area with a thickness of 5 mm. Heat the work surface with a soldering iron and apply a layer of rosin, evenly distributing it. At the same time, do not overheat the area being repaired. When the temperature of the metal rises above 315 degrees, nothing will remain from the rosin.
Step 3
Grab a thick layer of solder with a soldering iron and transfer it to the processed and prepared radiator element. Then start driving the sharp end of the soldering iron over the area to be repaired. Observing compliance with all soldering conditions, properly patch the required parts of the radiator. If after finishing work it turns out that not all cracks are repaired, free them from the remaining flux, reapply the rosin and distribute it.
Step 4
After completing the main repair of cracks, apply an additional amount of solder in the form of a thin film to the repaired area. Seal large holes first with a suitable piece of metal and then seal. When soldering a large crack, follow the process in two steps: after the primary coat has cooled, apply a second one.
Step 5
When choosing a soldering iron for patching a radiator, take as powerful a tool as possible (at least 100 W). If you use a soldering iron that is heated by a fire, remember to monitor the temperature during soldering. In the case of an electric model, it examines to constantly observe the cord, avoiding its contact with the soldering iron itself and the heated elements.
Step 6
Only hold the soldering iron by the handle. Determine the heating of the working surface of the radiator and the soldering iron tip by holding your hand at a certain distance from the heated part. Strive to carry out your soldering work outdoors or in a well-ventilated area, as fumes from the solder and flux are toxic.


