- Author Maria Gibbs [email protected].
- Public 2023-12-16 03:05.
- Last modified 2025-01-22 17:47.
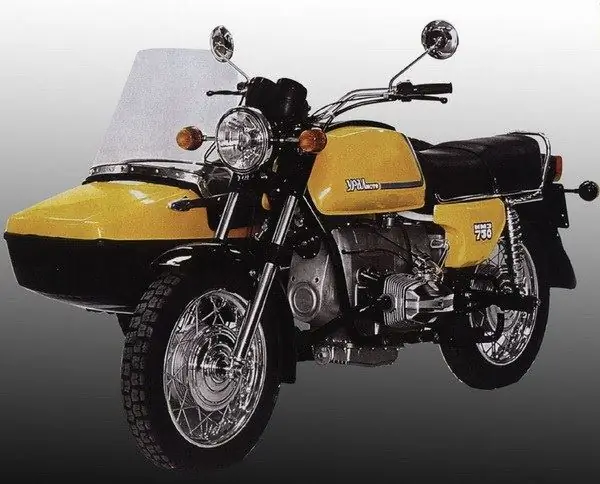
The main purpose of the starter is to start the engine. The starter motor has an electric motor that is started by the command of the ignition key. When the ignition key turns, electric current from the battery goes to the starter, after which it starts to turn the engine under the influence of a magnetic field. You can install a starter both on a motorcycle, for example, Ural, and on a car.

It is necessary
- - starter;
- - Ural motorcycle;
- - angle grinder;
- - cutting disc;
- - steel;
- - instruments.
Instructions
Step 1
The starter is installed from the side of the gearbox (gearbox) from the top or from the side (for better layout). Before proceeding with the installation of this device, you must change the configuration of the kickstarter pedal or remove this part from the structure.
Step 2
Mark the cut in the crankcase and cut with a cut-off wheel secured to an angle grinder. After that, make plates from steel with a central hole for the starter cover and fasteners. Make elongated block pins and attachment bushings under the plate.
Step 3
From duralumin, make two separate or one solid bottom mount, which are welded to the gearbox housing by argon-arc welding. When welding the structure, be sure to remove the rubber seals from the gearbox housing. In the event that the gearbox is disassembled, install the primary and secondary shafts in it, then close the rear cover and secure it with four bolts, and then just weld it on.
Step 4
Fix the starter to the flange. Set in "working" condition the clearances between the roller clutch and the ring gear, as well as between the flywheel ring gear and the starter gear. Since the end-manifold starter armature rotates in two journal bearings, check their condition for play and wear.
Step 5
Put new bushings, which are then processed with reamers for the diameter of the axial shaft. After setting the clearances, "grab" the mounting flange to the gearbox housing.
Step 6
Connect the starter to the battery and carry out a series of test runs (the spark plugs must be unscrewed). Please note: the rotation should be free, that is, without jamming, and the sound should be monotonous.
Step 7
After checking, carry out final welding of the surfaces and check the operation of the starter.


