- Author Maria Gibbs [email protected].
- Public 2023-12-16 03:05.
- Last modified 2025-01-22 17:47.
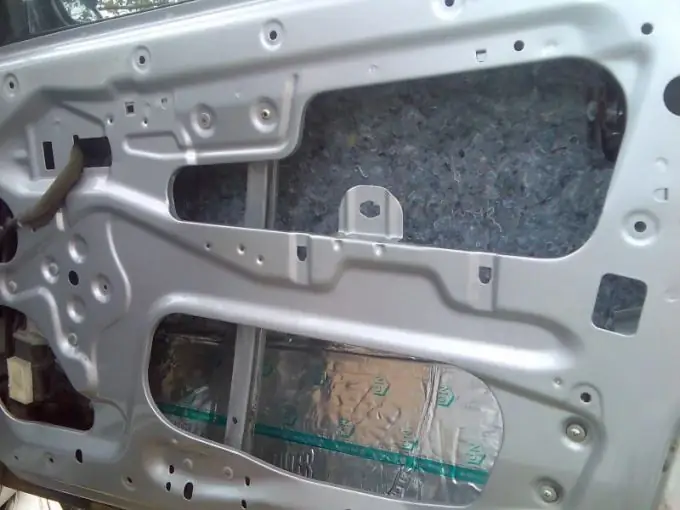
Many Nexia repair and maintenance operations require door disassembly. Among them: repair of door locks, insulation and sound insulation, glass adjustment, body repair, paintwork and others. For a complete disassembly of Nexia doors, no special tools are required and basic knowledge and skills in the field of auto repair are enough.

It is necessary
- - screwdrivers with flat and cross-shaped blades;
- - ring spanners simple and with TORX heads.
Instructions
Step 1
To remove the inner door trims, press the retaining tabs on the power window trims and remove the trims. Then unscrew the power window handles. To remove the cup from the power window handle, remove the three screws and then the screws on the front side of the front and rear facings.
Step 2
Hit the door trim from the bottom with a fist on the armrest so that the latches come out of the door frame grooves. Then fold the cladding itself up a little. Remove the opened fastening hooks from the grooves. Finally, remove the NC cable, and hang the door itself out of the guide and the lever. Disconnect the connectors on the switches and speaker.
Step 3
Disassemble the window regulator mechanism in the following order. First, remove the crank handle from its shaft by pressing down on the retaining tab and inserting a screwdriver underneath. After removing the grip cover, locate the screw underneath and remove it. Then remove the inner door handle bowl. Remove two more screws behind the removed handle.
Step 4
To remove the door locks, remove the door assembly support from the door base by removing the outer door handle control bar and the lock drum from the retaining clips. Fold back the locking latch at the clips 90 degrees and loosen the four fixing screws on the front sides upwards. Unscrew the two 6mm TORX bolts and remove the lock.
Step 5
To remove the outer door handle, fold the spring clips of the two rods that operate the door lock aside. Then hang out the rods. Remove the TORX bolt located on the front of the door handle through the recess on the inside of the door. Through the door frame, groping at the height of the lock drum, find the small lock lever and rotate it 65 degrees towards the rear edge of the door.
Step 6
Then remove the doorknob by pushing it inward. Pull out the key drum and remove the outer decoration panel by turning it slightly. Disconnect the wire. When disassembling the rear door, please note that the outer handle, unlike the front one, is fastened with two TORX bolts and does not have a locking lever.
Step 7
Deal with the dismantling of the key drum. To do this, insert the key into the drum, wring out the retaining ring at the rear end of the drum. Remove the leash and coil spring, remembering their location. Remove the drum from the cladding panel and lubricate with a rust remover spray.


