- Author Maria Gibbs gibbs@autolifeadvice.com.
- Public 2023-12-16 03:05.
- Last modified 2025-01-22 17:47.
Putty the body of your car yourself is not difficult. You just need to gain perseverance, show diligence and exactly follow all the recommendations described below. Let's talk about the main mistakes when puttying a car.
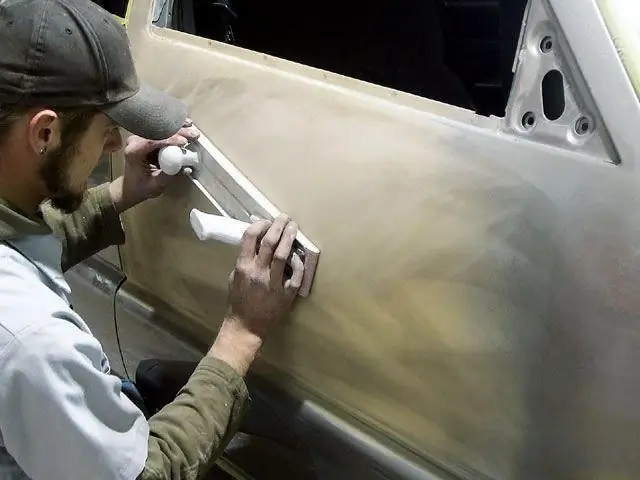
What putties are
Let's start with the fiberglass putty. It is of two types. These are "Fiber" - large fibers and "Microfiber" - standard size fibers. Serves for the application of the first (reinforcing) layers. There is also a universal putty, it is applied both on the first layers and on the finishing ones, already before the primer. There is putty on plastic, finishing putty, putty with aluminum filler. But many make mistakes when working with all types of putty, that's what we'll talk about.
The biggest misconception is that aluminum putty is the toughest putty. The first thought is that aluminum is a metal that strengthens this putty. But this is just a huge myth and delusion. Think for yourself, aluminum particles are in the form of a powder, they are very small and not connected in any way, and that they somehow strengthen the putty is complete nonsense.
And the main function is good heat transfer. Aluminum has very good thermal conductivity. What is it for? This putty is applied to the hood, roof, to those places where there is a rapid change in temperature in the cold. For example, we start the engine, the metal heats up and heats up much faster than the putty and the metal gradually peels off, or if the putty holds well, then it cracks.
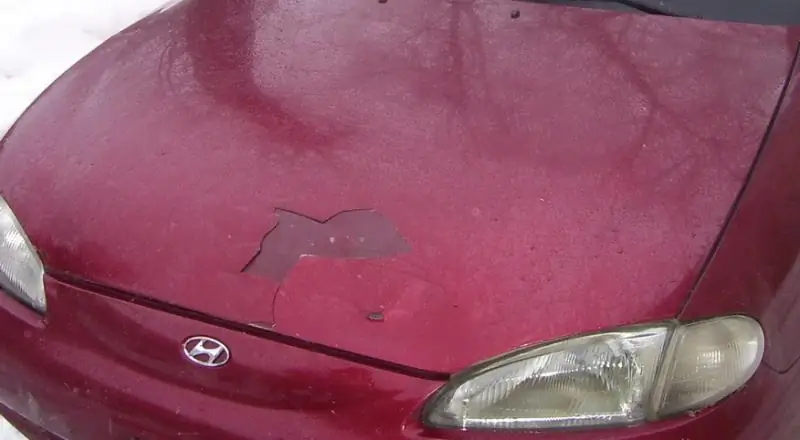
Many people think that this is a crack due to the application of a thick layer. But no, it’s just because of the temperature change. And aluminum allows you to quickly take heat from the metal and evenly heat the putty, thereby the difference between the expansion amplitude of the putty and the metal will be minimal.
The second mistake is the wrong application of layers. Many people try to reduce the consumption of material, and if the hole is small, then they try to level it from the first layer. And so it turns out a very large layer and it is fraught with the fact that when you lay out a thick layer of the material that comes with the hardener, it will dry very quickly. The upper layer quickly hardens and it turns out that air does not enter the lower one to carry out the reaction to the end, and it slows down a lot. As the lower layer begins to dry, the upper one will harden completely, and the lower one begins to squeeze the upper one.
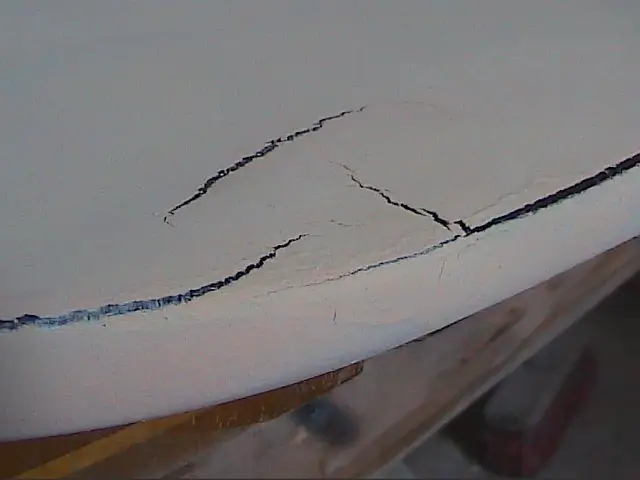
It almost always ends with the fact that a crack appears in the putty to the metal. Therefore, you need to monitor the layers and apply them gradually with interlayer drying.
Another gross violation is drying with a hair dryer or an incandescent lamp. These actions can easily ruin everything. At first, the putty itself needs to go into a reaction on its own, and it is better not to dry it for the first ten minutes. If you nevertheless decided to use auxiliary tools for drying the putty, then you need to do this according to the rules, otherwise you can very quickly dry the top layer and the bottom layer will be sealed, as a result, you will get either a crack or a detachment of the putty.
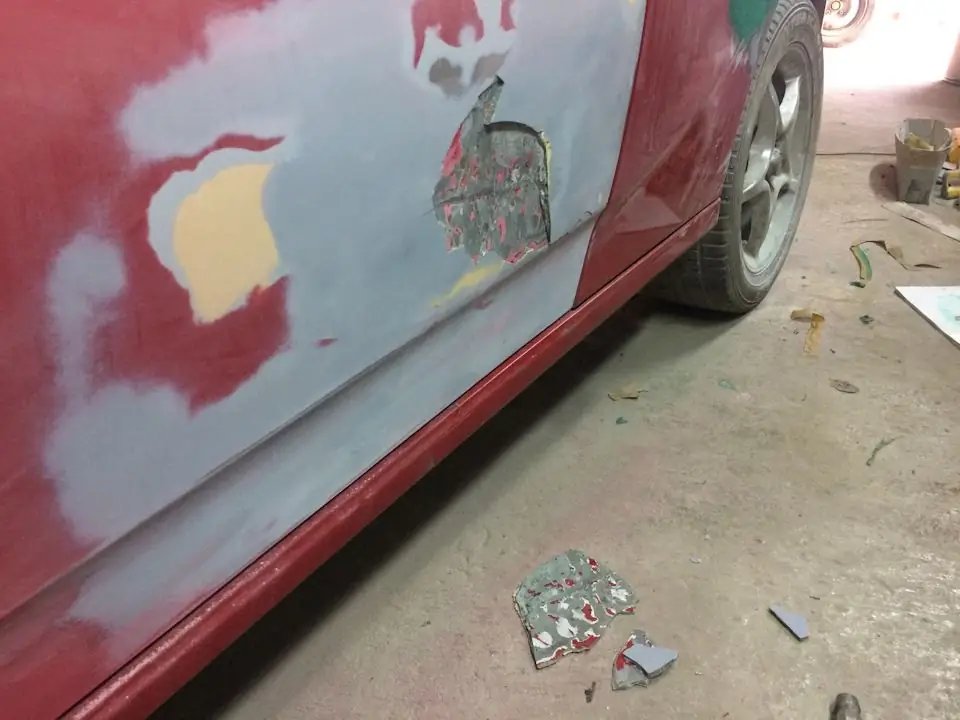
To avoid this phenomenon, you need to dry from the back, away from metal. But, in most cases, there is no access to such places. For this, there are infrared lamps that use infrared radiation to dry the putty from the inside. But the most optimal way of drying is to let the putty dry on its own without speeding up the process with the help of additional devices.
And the biggest problem that motorists face is the so-called shrinkage of the putty.
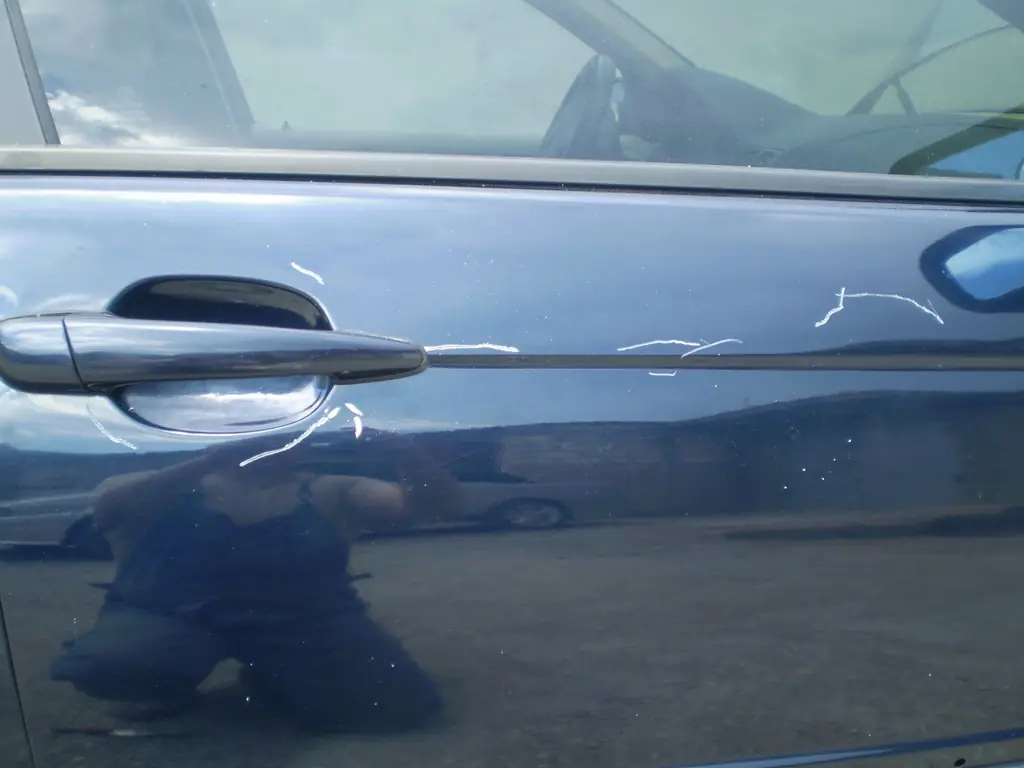
This means that after painting, irregularities, pits, waves, and sometimes cracks appear on the corrected part. This phenomenon happens, among other things, due to improper drying, but primarily this is due to neglect of the correct choice of sandpaper grain. Among specialists there is such a thing as "rule 100" or "step 100". This means that with each layer of putty, the gradient of the sandpaper grain will increase by no more than 100 units. That is, the first layer of putty is processed with 80 sanding paper, the next layer is processed with 160 or 180, the next layer will be processed with 240 or 260 sandpaper, and so on. This is done in order to gradually reduce the depth of the scratches from the sandpaper and minimize the possibility of the putty sagging into the deep risks that remain, for example, from number 80. Then, when the part is already leveled and ready to apply primer, we apply the primer and rub it with sandpaper number 800. Now our part is ready for painting. But that's a completely different story …


