- Author Maria Gibbs gibbs@autolifeadvice.com.
- Public 2023-12-16 03:05.
- Last modified 2025-01-22 17:47.
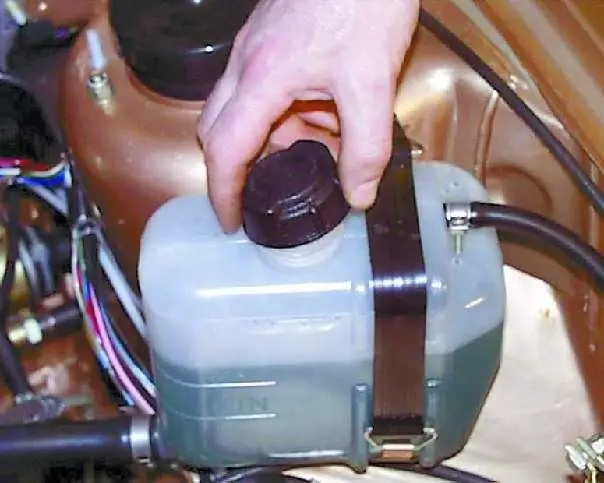
The radiator cap is its main component. It acts as a "barrier", while keeping the coolant inside the radiator, which is under decent pressure. But how do you check the radiator cap itself?

Instructions
Step 1
First of all, check the radiator cap for mechanical damage, scratches, cracks, wear and rust.
Step 2
Since any cover has three parts: a rubber mount, a snap ring, and a metal cap, the spring must be checked. To do this, it must be compressed. If you managed to do this easily, then it's time to change it, since the spring takes on the pressure, and it can simply be torn off elementary if it passes this pressure.
Step 3
Pull on the vacuum valve, open it and check that it closes completely when released.
Step 4
Check the radiator cap vacuum valve seat for dirt. Make sure that there is no deviation from the standard when closing and opening the vacuum valve.
Step 5
Check radiator cap relief pressure. To do this, connect a special device to it and screw the pump onto the cover, observing the instructions, and operate it until the valve opens. Remember to increase the pressure until the needle stops moving. Remember that the opening pressure of the outlet valve is (107.8 ± 14.8) kPa and the closing pressure of the outlet valve is approximately 83.4 kPa. If the pressure does not correspond to the required value, then replace the radiator cap.
Step 6
The same device can also check the cooling system itself for leaks by installing it on the radiator neck. Create a pressure of 1.0 atm and check that the pressure gauge shows this value for 2 minutes. Otherwise, there are leaks in the cooling system that can be easily detected by the leakage of coolant.
Step 7
Be very careful when buying a new cover, as not all of them may fit. Be guided by the marking of the old cover.


