- Author Maria Gibbs [email protected].
- Public 2023-12-16 03:05.
- Last modified 2025-01-22 17:48.
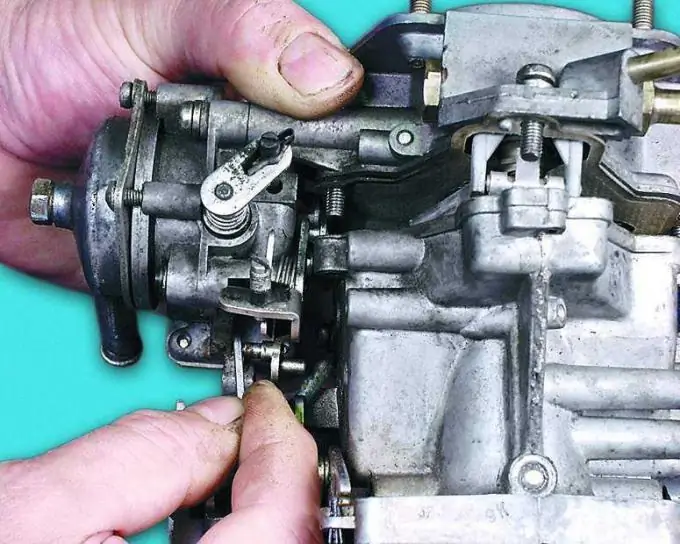
The carburetor is less and less common in the design of cars being repaired. The fact is that in connection with the adoption of Euro 3 standards in Russia, carburetor engines are unable to comply with these standards for the toxicity of exhaust gases. Consequently, the manufacture and import of new cars with a carburetor engine is not permitted. There are only old cars left, the number of which is decreasing naturally. Self-repair of this unit is quite painstaking and requires a certain accuracy.

Necessary
- Gasoline or acetone.
- Compressor for blowing with compressed air.
- A set of wrenches and screwdrivers.
Instructions
Step 1
Check the carburetor fuel mesh filter first. To do this, unscrew the filter plug, remove the filter itself, wash it in gasoline and blow it out. Purge is best done with a compressor. If the fuel pipe and filter are damaged, replace them.
Step 2
Next, check the gasoline level in the float chamber. The lack of fuel or its insufficient level indicates that the valve of the float chamber cover is dirty. Flush and purge the valve. It should move freely. As well as the float itself. To adjust the float, remove the carburetor cover and gasket and turn it over. If the float has shifted to the side relative to the imprint of the chamber walls (it should remain on the gasket), center the float by bending the tongue. If the float is damaged or heavier than it should be, replace it.
Step 3
Set the desired fuel level by folding the tab that adjusts the fuel level. At the same time, bend the float stop to adjust the travel of the valve needle. Cover the holes in the float with gasoline-resistant glue. The carburetor starting device can be automatic or semi-automatic, which does not need to be flushed. Or it can be simple, which needs flushing with gasoline or acetone and blowing with air.
Step 4
Remove the float chamber cover and clean the passages and jets with compressed air, then flush them with gasoline or acetone. After removing the air filter housing, unscrew the idle air emulsion jet housing. Sometimes for this you have to disconnect the wire going to it. If a resinous substance forms on the jets, clean them of this substance with a sharp wooden tool dipped in gasoline or acetone. Do not use metal tools - they will damage the jets. Check the diaphragm. If it is worn out, replace it.
Step 5
Check all carburetor connections. Leaking places where air is sucked in can be found with soapy foam. A window in the foam will appear at the place where the air is sucked in. Leaky places where fuel leaks are detected by traces of gasoline leaks and traces of soot. Wipe the fuel leak found dry to more accurately locate the leak. Tighten the carburetor nuts to help with most leaks. Tighten the nuts smoothly, avoiding distortions of the flange. If any leaks have not been repaired, replace the gasket at the leak or suction.
Step 6
Also flush the accelerator pump with acetone or gasoline, blow with compressed air. Check the ease of movement of the ball in the sprayer and parts of the diaphragm and lever. Eliminate jamming. Check the tightness of the gaskets and seals. Replace defective parts. Check for damage to the economizer diaphragm. The full length of its pusher must be at least set. Replace the diaphragm if necessary.


