- Author Maria Gibbs [email protected].
- Public 2023-12-16 03:05.
- Last modified 2025-01-22 17:48.
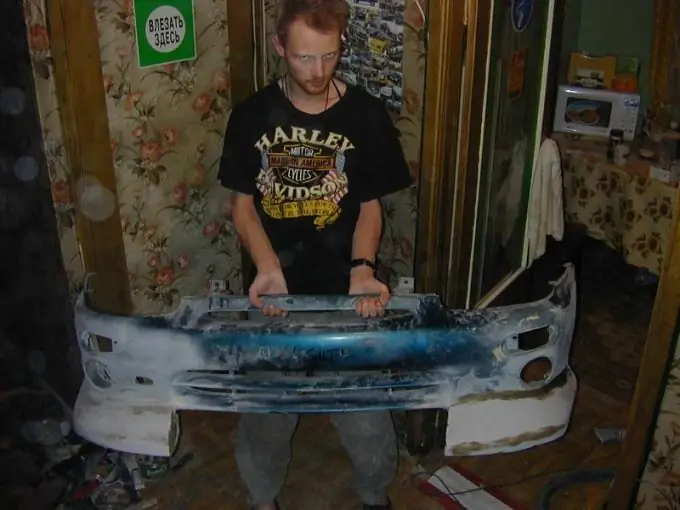
The degree of external tuning of a car can vary from insignificant to global: from applying various stickers to replacing panels with individual ones with their own design. It is possible to independently make some parts of the external body kit (bumper, wheel arches, spoilers, etc.) using the technology of gluing from epoxy resin.

Necessary
- 1. Project drawing of a future part
- 2. A large amount of plasticine. It is desirable technical (differs from the usual in greater rigidity).
- 3. Fiberglass
- 4. Epoxy resin
- 5. Gypsum (clay)
- 6. Various wooden blocks, a large amount of fine flexible mesh, thick flexible wire (5-6 mm), petroleum jelly.
Instructions
Step 1
Sculpt a model of the body kit part to be made from plasticine. In order for the future part to match the style of the car, do it directly on the car. To preserve the shape in the thick parts of the future part, lay the bars, in the thin parts - wire. Think about how you will remove the resulting structure. The layout should ultimately look as good as possible to avoid a lot of painstaking work on the finished part. Don't forget the niches for the fog lights and air intakes.
Step 2
Take a wooden box large enough to fit a plasticine model with a margin of at least 5 cm on each side. The box must have supporting elements so that the plasticine model does not touch the bottom and walls of the box. Lay the model face down in the box, having previously greased it with Vaseline.
Step 3
Prepare a creamy gypsum mixture and pour it into the box with the model. The mixture does not need to cover the entire breadboard to be able to retrieve it. The upper (back) part of the plasticine model should look out slightly. There must be enough gypsum mixture to make the entire pour in a single run. After pouring, the gypsum mixture remains to solidify for a period of one to several days, depending on the amount of gypsum.
Step 4
After removing the plasticine model, a gypsum cavity is obtained - a form for gluing the part. Drill thin holes in it for air circulation, then coat with petroleum jelly. Pierce the covered air holes with a thin wire.
Step 5
Prepare an epoxy mixture. Cut the fiberglass into strips along the width of the elements with a minimum curvature and begin to lay out in layers in the plaster cavity. Provide points and places for attaching the future part. The layers should be free of air bubbles (especially the first one). With 2mm layers in place, create a thin mesh for reinforcement. Also reinforce the attachment points with a thin mesh. Lay another 2 mm layers of fiberglass on top of the mesh. Fill with epoxy mixture.
Step 6
After thorough drying, we remove the resulting part and subject it to finishing, grinding and fitting.


