- Author Maria Gibbs [email protected].
- Public 2023-12-16 03:05.
- Last modified 2025-01-22 17:48.
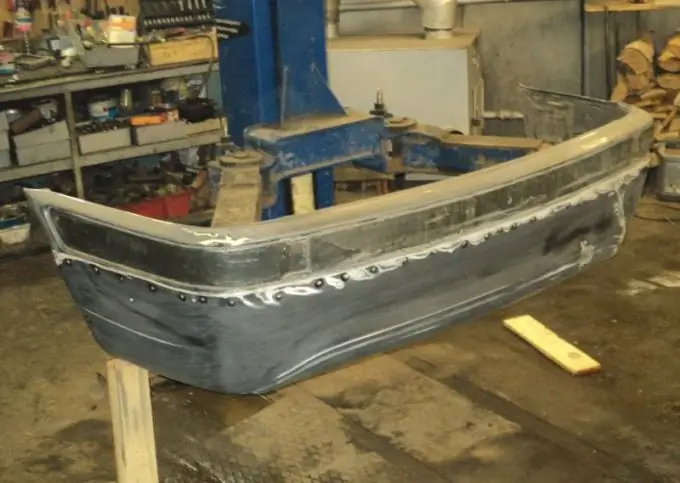
Putty is one of the operations for repairing a bumper and preparing it for painting. For beginners, many questions arise: how to putty properly, how to choose a putty, how to grind, what abrasive to process, and others. Exactly the same questions are caused by the operation of puttingtying not only the bumper, but also any other body part.

Necessary
- - Sander;
- - sanding paper with abrasives P220-240 and P120;
- - white alcohol or solvent;
- - rough and finishing putty;
- - black developing powder;
- - rust converter;
- - wooden and rubber spatulas;
- - masking tape
Instructions
Step 1
To determine the nature of the damage to the repaired surface, thoroughly wash the bumper. Degrease with white alcohol and thinner. This will give you a full picture of the work ahead. Please note that under a small defect in the bumper there may be more serious or more numerous minor defects. High-quality putty and painting will help to eliminate them.
Step 2
Remove all imperfections from the surface. To do this, grind the entire surface to be repaired with abrasive P220-240 using a grinder. In places that are hard to reach for the machine, carry out work by hand. After that, all defects appear and become more noticeable.
Step 3
Sand sharp edges of chipped paint and traces of rust to a smooth surface. Remove any remaining traces of corrosion with a rust converter according to the instructions on the bottle. Do not be afraid to remove excess layers of material when sanding. In this case, use sanding paper with abrasive P120, that is, coarse abrasive. This ensures better adhesion of the putty to the surface. Sand down minor scratches and chips in the same way.
Step 4
After preparing the surface, go directly to the putty. Use a coarse two-component fiberglass filler for deep dents (15-20 mm). Use the same filler, but with an aluminum filler, as a primary coat to fill deep dents. Choose a universal two-component filler for removing shallow dents and irregularities. Apply a two-component finishing filler over the coarse filler for a more precise leveling. Finishing one-component - for filling micro-scratches and microroughnesses and final filling as a second layer.
Step 5
Knead the coarse putty with hardener, stirring the solution thoroughly until the pink streaks disappear completely. Then take a spatula, scoop up a small amount of the prepared solution with it and fill the repair area evenly. Do not press down on the spatula too hard - a light pressure is sufficient. Do not try to complete the entire procedure in one go. After applying one layer, wait 15 minutes and apply the next one. Usually 3-4 layers are used, gradually filling the defect with putty.
Step 6
Then sand the area to be repaired with abrasive paper P120. At the same time, try not to climb outside the repair area, so as not to cause unnecessary scratches. For safety reasons, cover the putty area with 2-3 layers of tape. Wipe dry filler with black developing powder before final filler. This will help to identify defects in rough filling and eliminate them in the final part of the work. If gaps are formed during sanding, fill them with putty.
Step 7
Apply the finishing filler in the same way, paying special attention to the suspicious areas and areas indicated by the developing powder. After it dries, sand the surface with an abrasive P220-240 to wipe out large risks. Sand all transitions smoothly. Treat the entire area with developing powder and apply a second coat of finishing filler with a rubber trowel. Degrease the surface immediately before painting.


