- Author Maria Gibbs gibbs@autolifeadvice.com.
- Public 2023-12-16 03:05.
- Last modified 2025-01-22 17:47.
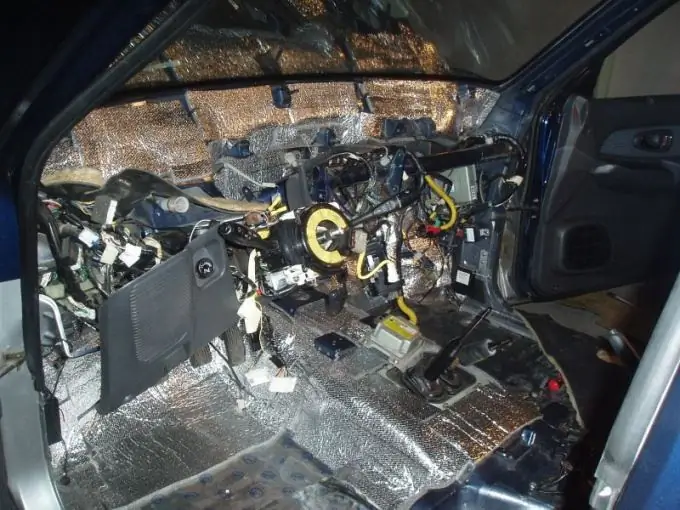
After buying a VAZ 2109 car, it is imperative to make noise insulation. Cars older than 2-3 years make a lot of noise. Most of the noise is generated by the plastic front panel. So, let us consider in detail the issue of gluing the front panel of the Vaz 2109.

Instructions
Step 1
The base of the panel is attached to the body in 5 places. Two nuts need to be unscrewed on the sides, a self-tapping screw in the glove compartment and two nuts on the bottom of the panel. Fastening is done on the ears, which often break. If broken, it can be sealed with superglue. Will hold on firmly. However, the panel fastening still needs to be strengthened.
Step 2
The panel can be fastened to the stove using self-tapping screws. You can also try reinforcing the ears with metal. The top edge of the panel rests against the windshield seal, and below against the reinforcing beam. The panel can be screwed to this particular beam. To do this, we drill holes in the panel. It is better to attract with three self-tapping screws having a length of 50 millimeters. To prevent breakage of the plastic, large washers can be placed under the screws. All this must be covered with a sealant.
Step 3
We are engaged in gluing the panel. First, pay attention to the part that is adjacent to the body. It needs to be pasted over with a thin sound-insulating material. We process the lower sections from the inside with a visomat, and on top - with bitoplast. Pay attention to the gaps between the stove and the air ducts. Bitoplast must be placed in them.
Step 4
For better thermal insulation, we glue the air duct covers with material. Then, along the entire edge, we let a bitoplastic strip about 15 millimeters wide.
You can observe the factory soundproofing. It is gray foam rubber. Do not forget to process the instrument cluster with bitoplast.
Step 5
We check the sound insulation of the air duct cover. When staggered, it should not make squeaks. Most often, the squeak comes from the places where the ribs that direct air to the windshield come into contact with the panel trim. We glue a strip of bitoplast on them. You can also use black cloth tape. Squeaks are emitted mainly when the stove is on. This is due to the heating and expansion of plastic and plastic parts.
Step 6
To glue the visor of the panel, you need to use a visomat and bitoplast strips. Be sure to glue the iron latches that catch on the lining on the sealant. They make a lot of squeak.


