- Author Maria Gibbs gibbs@autolifeadvice.com.
- Public 2023-12-16 03:05.
- Last modified 2025-01-22 17:48.
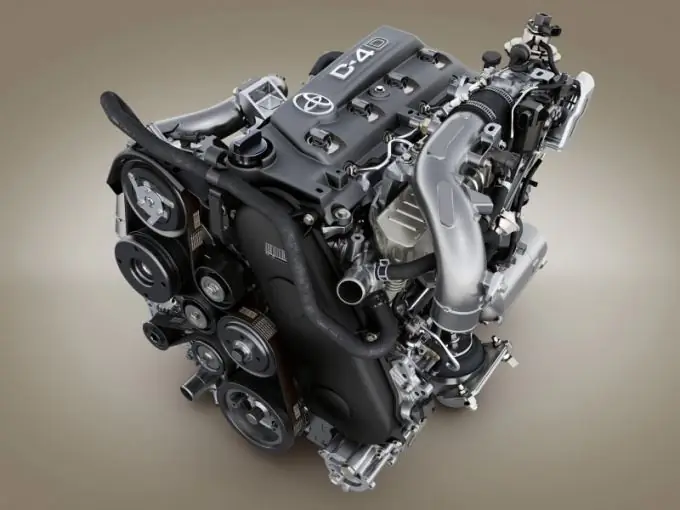
TOYOTA engines are removed with the gearbox down. Use a crane or hoist with sufficient lifting capacity to remove the power unit. Also prepare a separate lift for hanging the front of the vehicle. Install the engine together with an assistant.

Necessary
- - a set of tools;
- - clamps with clamps;
- - crane and lifting suspension;
- - grease;
- - torque wrenches
Instructions
Step 1
Before installing the power unit on a Toyota, check the serviceability of the engine mounts. If serious defects are found, replace them with new ones. On machines with a manual transmission, check that the clutch is in good condition. Grease the splines of the input shaft of the gearbox with high-temperature grease.
Step 2
Bring the power unit to the gearbox so that the input shaft of the gearbox engages with the splines of the clutch disc. Rotate the crankshaft if necessary to prevent damage to the splines. Note that the input shaft must not hang from the clutch disc.
Step 3
Carefully advance the gearbox so that the cylinder block bush guides fit into the mounting slots of the clutch housing. Then tighten the bolts securing the gearbox to the engine. Place the assembled "engine-gearbox" unit under the bottom of the car in the area of the power supports.
Step 4
With the engine assembly suspended from the gearbox using a lifting chain, raise them until the power unit mounting lugs and motor mounts line up. Tighten the engine mounting beam bolts. Fasten the suspension and steering gear parts to the support beams, if required by the vehicle design.
Step 5
Install drive shafts on front wheel drive vehicles. Install the propeller shaft on rear- and all-wheel drive. Connect the transmission control rods and clutch mechanism elements. Connect the exhaust system, air conditioning compressor to the installed engine, restore the cooling system.
Step 6
Install the power steering pump, starter motor, alternator, wire harnesses, vacuum hoses and fuel pipes. Slide on and tighten the ancillary drive belts. Connect the accelerator cable, install the previously removed battery and reconnect it. Fill with engine oil and coolant up to the upper level. Check the oil level in the power-assisted steering and transmission, top up if it is insufficient. Start the installed engine and check all systems for process fluid leaks.
Step 7
When working with the fuel system, ensure good ventilation in the room, do not use open fire, electric welding and tools that generate sparks during work. Prepare a charged fire extinguisher and protective equipment (goggles, gloves) before work. Try to keep dirt and dust out of the fuel system.


