- Author Maria Gibbs [email protected].
- Public 2023-12-16 03:05.
- Last modified 2025-01-22 17:48.
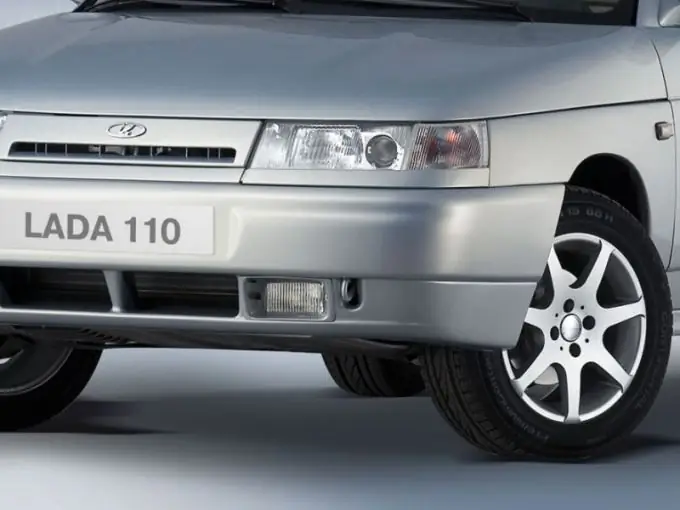
Usually, headlights on a car serve for a long time with little or no repair. However, in case of urgent need to replace the headlamp will not be difficult. This can be easily done on your own, given the fact that if the repair takes place during the cold season, it is better to carry it out in a warm room so as not to damage the plastic decorative cover.

Necessary
- - key for 10;
- - socket head 10;
- - screwdriver;
- - Silicone Grease.
Instructions
Step 1
Disconnect the negative terminal from the battery. After that, disconnect the two electrical connectors of the headlamp. In the event that there is a fender liner, unscrew it from the side of the bumper. It is usually attached to 2-3 extreme self-tapping screws. Take a 10 key and unscrew the two bolts that secure the top of the headlamp unit. Then unscrew the two bolts securing the decorative grille.
Step 2
Lift it up and insert your fingers into the gap between the bumper and the grille. Disengage two latches on both sides. Remove the decorative grill. Remove one bolt that secures the headlamp unit from below. Loosen or unscrew the two upper bumper mounting bolts and pull slightly towards you.
Step 3
Use a screwdriver or fingers to gently pull the edge of the trim away from the headlamp assembly. This is the most difficult dismantling task. This operation is necessary so that you can get to the lower nut that secures the headlamp. You must remember that in the cold, plastic becomes brittle, so this work is carried out in a warm room.
Step 4
After that, a plastic latch tongue will become noticeable in the gap that has opened, with which the edge of the lining is attached to the edge of the wing. Carefully disengage it from the wing without using too much force. Perform all manipulations with your fingers.
Step 5
Slide the trim towards the center of the car and pull it out. Before removing, lubricate it with silicone grease along the arc of attachment to the bumper. Using a 10 socket head, unscrew the headlamp nut that secures it to the bracket. Take it out. Pry the retainer of the hydrocorrector with a screwdriver, turn it and pull it out of the headlight housing.
Step 6
Reassemble in reverse order without brute force. When installing the decorative strip in place, push its lower edge with a screwdriver. The entire work of dismantling and installing the headlamp unit will take about 20 minutes.


